Making your own knife can be an exciting and rewarding project. Not only does it give you a unique tool that you will eventually find practical use for, but it also allows you to express your creativity through design and choice of materials.
In addition, it provides useful knowledge about the use and shaping of different materials such as steel, wood and composite. Whether you are a beginner or have some experience with other types of crafts, you can learn to make a knife from scratch with us. We will help you with tips, tricks and choosing the right materials, tools and techniques for your project!
In this guide, we will take you through how to make a knife step-by-step, from material selection to finishing and maintenance. Here you will get a clear introduction. Feel free to contact us to discuss if you have any questions. Are you ready to start your knife project?
What materials and equipment do you need for homemade knives?
Before you get started, you'll need a few tools and materials. These will vary depending on the type of knife you want to make, but here are the most basic ones:
Knife steel or knife blade
This is the heart and soul of the knife. The choice of steel affects the knife's durability, hardness and sharpness. At Storbua you will find a wide selection of knife steels for all types of knife making. You can also buy ready-made knife blades if you don't want to make your own blade from scratch.
Handle materials
Wood, bone or synthetic materials such as Micarta or G10 are popular choices. The choice depends on both function and aesthetics. Check out our selection of handle materials .
Paper
The design work is the basis for both the enjoyment of using the knife and your own artistic expression and understanding of ergonomics and the knife's application. This is often done on paper or on digital surfaces.
Epoxy
Used to glue the blade and handle together. We recommend G/Flex epoxy , which provides strong durability and is easy to use.
Grinding equipment
To shape and sharpen your knife blade, you will need both coarse and fine whetstones, and perhaps a belt grinder for precision sharpening. Check out our sharpening range .
Tools such as files, drills, hammers and screws
Small things that help you fine-tune the design and assembly of the knife.
Safety equipment
Safety glasses, gloves, and a dust mask are important to protect yourself while working with the metal and grinding.
Step-by-step guide: How to make a knife from scratch
1. Design and planning before you start making the knife
Before you start making the knife itself, it's important to have a clear idea, or at least a rough idea, of what it should look like. Start by drawing a sketch of the knife. Decide on the size of the blade and handle, and think about what the knife will be used for.
A hunting knife has a different shape than a kitchen knife, and this affects the design of the knife you are going to make. Feel free to transfer the sketch to a piece of cardboard that you cut out to get a feel for how the shape feels in the hand, and how the blade shape behaves in use. If you are not going to make the blade yourself, you can see finished knife blades here, and make a sketch based on the profile and dimensions on the product page.
2. Preparation of materials for knife making
Steel
Once you have your design ready, start by preparing the steel for the blade. We generally recommend 80crv2 knife steel for making knives. It is relatively easy to harden but provides extremely good performance. We also have it available in pre-hardened knife steel so you only need to sharpen your knife blade, but you can use any knife steel you like. Draw the outline of the blade you want on the steel, and use a belt sander or file to rough shape the blade. Be sure to keep your design in mind throughout, and be sure to leave a small thickness on the edge to be sharpened later.
Knife blade
If you are going to use a knife blade, you should wrap the blade in something that protects you from cuts, and the blade from scratches and damage. Feel free to use electrical tape or other strong tape on the blade. Remember to be careful with the blade even if it is taped!
Shaft material
The shaft material can come in many shapes and types, but in general it can be good to start with a relatively flat or rectangular starting point with 90 degree sides, so we recommend sawing or sanding down the surfaces so that the surface is flat and smooth. This gives you a neat surface to transfer your design onto, which you will later saw, rasp, file and sand.
3. Shaping the knife blade
Once you have roughly shaped the blade, the next step in the knife-making process is to bring out the fine lines and details. Use files or a belt sander to fine-tune the shape of the blade. This step requires time and patience, especially if you want a symmetrical and balanced knife. If you are working with pre-hardened steel, you should also be careful not to let the temperature get too high. At 200 degrees, the finished knife blade will be damaged, so watch the temperature and dunk it in water to cool down between sharpening passes if you are using a sharpening machine.
Use sharp grinding belts , light pressure and rather cool once too much than once too little. You can often see when damage has occurred because the steel turns a yellowish brownish color, or even blue. If the color is blue, the steel has been around 300 degrees Celsius, and then the hardening is broken, at least for this part of the blade. See the picture below which shows the temperature changes of the steel at different temperatures.
4. Heat treatment
Heat treatment, often called hardening, is a critical process when making a knife. It is what makes the steel hard and durable. The blade must be heated to a certain temperature (often between 800–900°C for carbon steel), before being quickly cooled in oil or water. Afterwards, you should perform a process called tempering, where you heat the blade again to a lower temperature to make it a little softer and more resistant to breaking or cracking.
Read more details about this in our blog post about hardening, annealing and tempering .
5. Grinding and polishing
After the heat treatment, the blade is ready for sharpening. Start with a coarse grind to shape the edge and then fine grind to get the blade razor sharp. Use a grinder or grindstones that are progressively finer so that you complete the grind on each step, before moving on to the next, to achieve a smooth finish and a sharp and even edge. With each step of the sharpening, finer and finer streaks are removed, gradually giving the blade and edge a nice finish that looks good and cuts well. Hand sharpening can also remove small irregularities that may have occurred during sharpening.
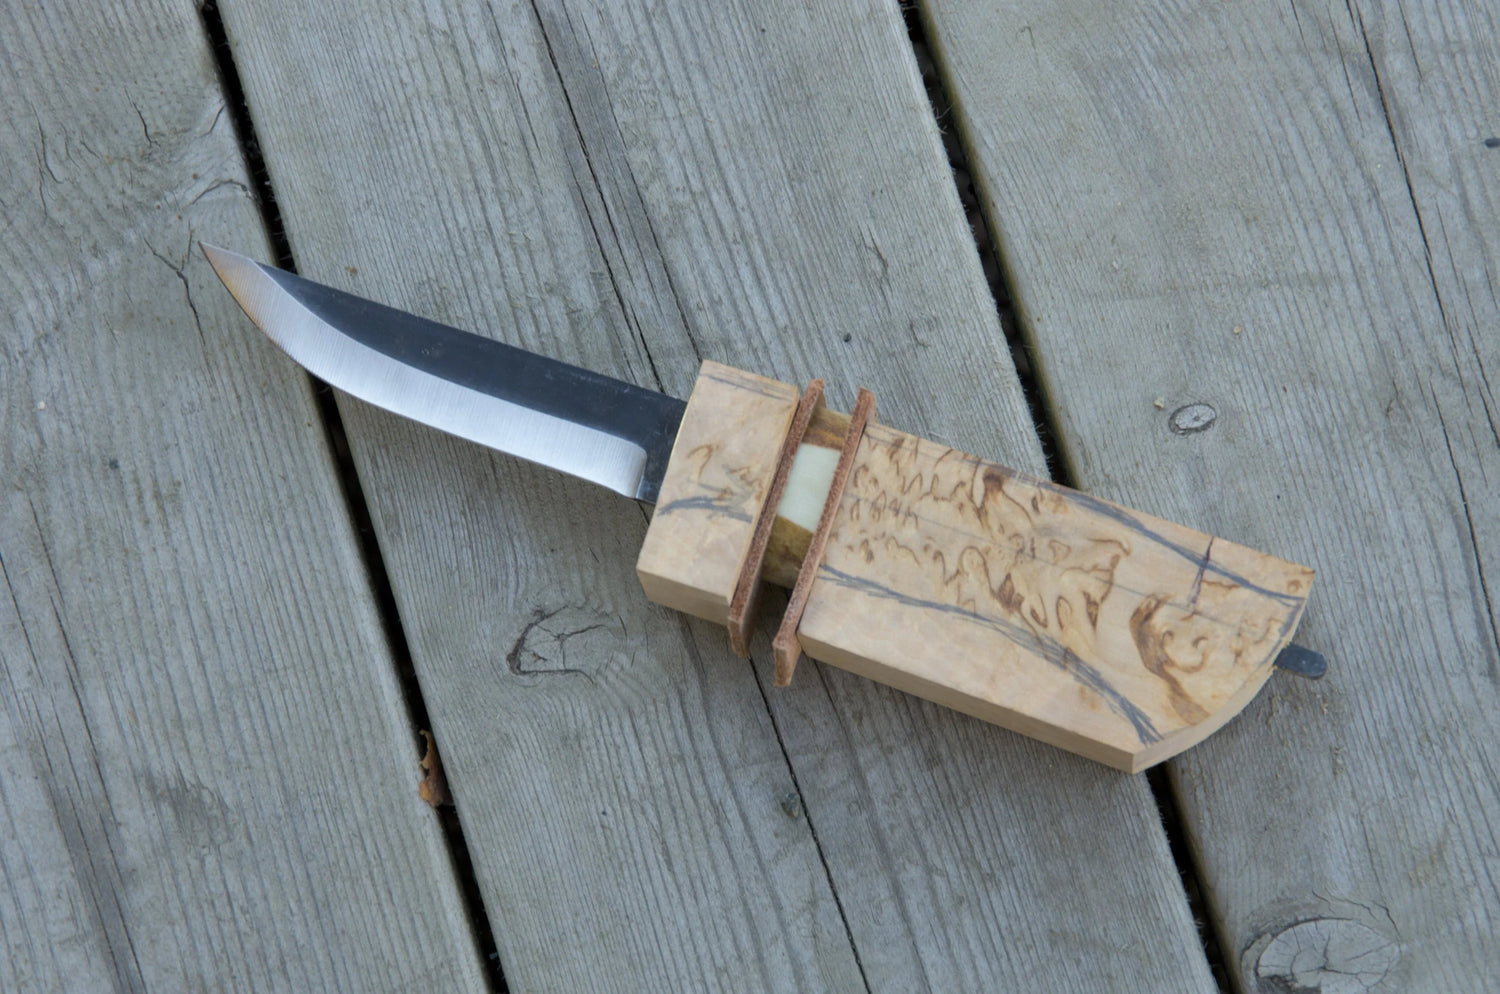
6. Shaping the handle
Once the blade is ready, it's time to make the handle. Take the material you want to use for the knife handle and draw over your design. Check that the blade fits well with the design. Make any adjustments to the design. If you plan to use a blade with a hidden tang , draw some guide lines along the tang of the knife on the side of the handle.
Drill holes in the handle in line with these to attach the shaft to the tang of the knife, and glue it together with epoxy . Remember to follow the manufacturer's instructions which can be found on the product page. Wipe away any spills. After the curing time is over, make sure everything is secure before continuing with the fine tuning of the handle.
7. Finishing and protection
Once the handle and blade are assembled, it's time for the final finishing touches. Sand the handle with fine sandpaper until it's smooth and comfortable to hold. Apply a protective finish, such as oil or wax , to seal the handle. Finally, you can use a polishing equipment to remove the last streaks and make the blade and shaft shine.
Take care of your handmade knife
Congratulations! You have now made your own knife. But to keep your knife in top condition, proper maintenance is important. Here are some tips for taking care of your handmade knife:
- Sharpening : Keep your knife sharp by stropping regularly and sharpening occasionally. Use a leather strop, whetstone , or a sharpening system with an adjustable and controlled angle for best results.
- Cleaning: Avoid leaving the knife wet for too long. Always dry it thoroughly after use and apply a small amount of oil to the blade to protect against rust.
- Storage: Store the knife in a blade case or case when not in use to protect both the blade and yourself.
At Storbua you will find everything you need for knife making.
Whether you are a beginner or an experienced knifemaker, we at Storbua have everything you need to make your own knife. Explore our wide selection of knife steels , sharpening and polishing equipment , epoxy and handle materials . Need tips or guidance? Contact us – we are always ready to help you realize your knife dreams.
Check out our knife making range and start your next project today!
Feel free to follow us on Instagram and Facebook for inspiration and share your own knife projects with us.
Please watch a video here of knife maker OMD making a handle for a finished knife blade. Very interesting and informative!
Leave a comment
All comments are moderated before being published.
This site is protected by hCaptcha and the hCaptcha Privacy Policy and Terms of Service apply.