Epoxy casting is a popular technique for creating detailed and unique art such as jewelry, interior decor or functional items such as knife handles. Here are some key tips to give you a quick introduction to the hobby and give you some basic information to work with. Also see our other informative articles about epoxy and knife making.
What is epoxy resin?
There are many types of resin, such as epoxy, polyester and polyurethane. Epoxy resin, or casting epoxy, is often used for art because it is crystal clear, easy to use and provides a durable result, while also providing good results without a lot of equipment.
Epoxy consists of two parts. The first component is often simply called resin, and the second component is called hardener. When these are mixed in the correct ratio, a reaction begins that causes the epoxy to thicken over time and then harden into a hard plastic.
How to work safely with epoxy? Is epoxy dangerous?
Work with good air exchange: Work in a well-ventilated area, as most types of epoxy manufacturers include this as a requirement for the use of the product. Often, a mask with an organic filter may also be required, especially if ventilation is insufficient.
Protect skin and eyes: In addition to the lungs, skin contact must also be avoided, so cover your skin and wear disposable gloves. The eyes should also not come into contact with the epoxy, so remember to wear goggles to prevent splashes in the eye.
Epoxy can be used safely : As long as the epoxy is used with the necessary precautions, the use of epoxy is relatively safe. In addition to these general recommendations, users are required to familiarize themselves with the applicable safety data, recommended uses and equipment in the product's safety data sheet.
What do I need to cast epoxy?
You go a long way with little : Only a few essentials in addition to the epoxy resin+hardener and safety equipment are needed. Safety equipment is usually about preventing your physical contact with uncured epoxy. This means gloves, long sleeves, glasses or a mask. Mixing cups, stirring sticks, a scale and possibly a silicone mold to pour the epoxy into are all that is needed.
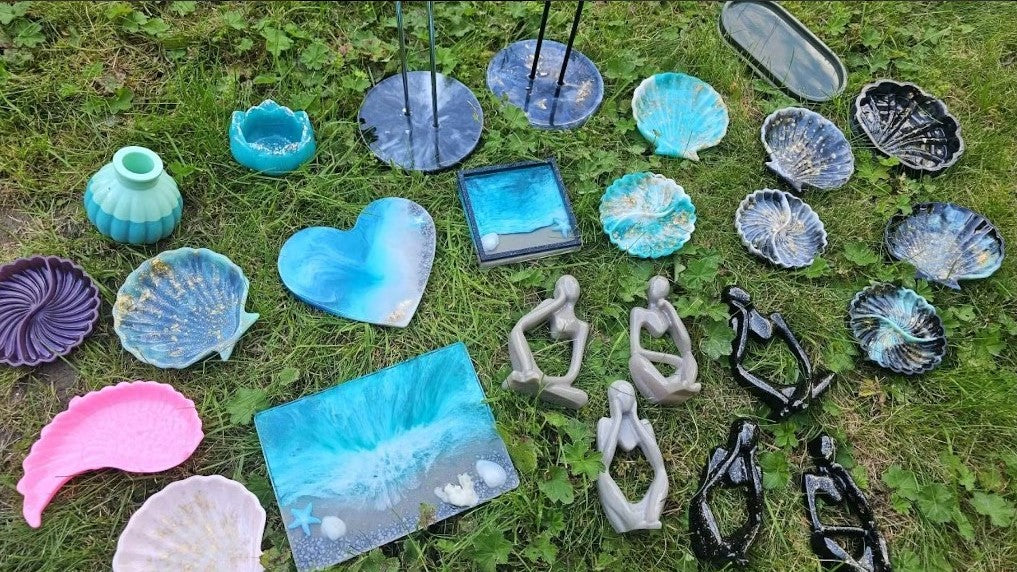
Colors and additives are optional: There is of course much more you can do if you add a little color, for example see the selection of liquid or powder metallic colors to create unique effects. Epoxy is also a versatile material that can accept and encapsulate most anything including brass powder, beer caps, glass, glitter, dried flowers and so on!
How do you mix and cure epoxy?
Mix well and thoroughly: Make sure to mix well , then scrape the bottom and sides of the mixing cup well, repeat these two steps several times. To be sure, pour into a new mixing cup and continue mixing there.
Pour carefully, preferably in several batches : When pouring the epoxy from the cup into the mold, it is good to take it easy to avoid spills and splashes. In addition, epoxies have a limit to how deep and how much you can pour at once, so mix and pour in several batches as the epoxy begins to set.
Curing time varies by type and conditions: The type of epoxy you choose determines how quickly the epoxy cures. Casting epoxies for thin layers usually take 8 hours, while casting epoxies for thicker layers take 24 or 72 hours. In addition, many conditions, such as temperature, air circulation and humidity, affect the curing period.
How do you process epoxy?
The epoxy hardens to a glossy surface: For many, the fact that you can pour the epoxy out and let it harden to a finished surface is a great advantage. Then all you have to do is wash the surface afterwards! Done!
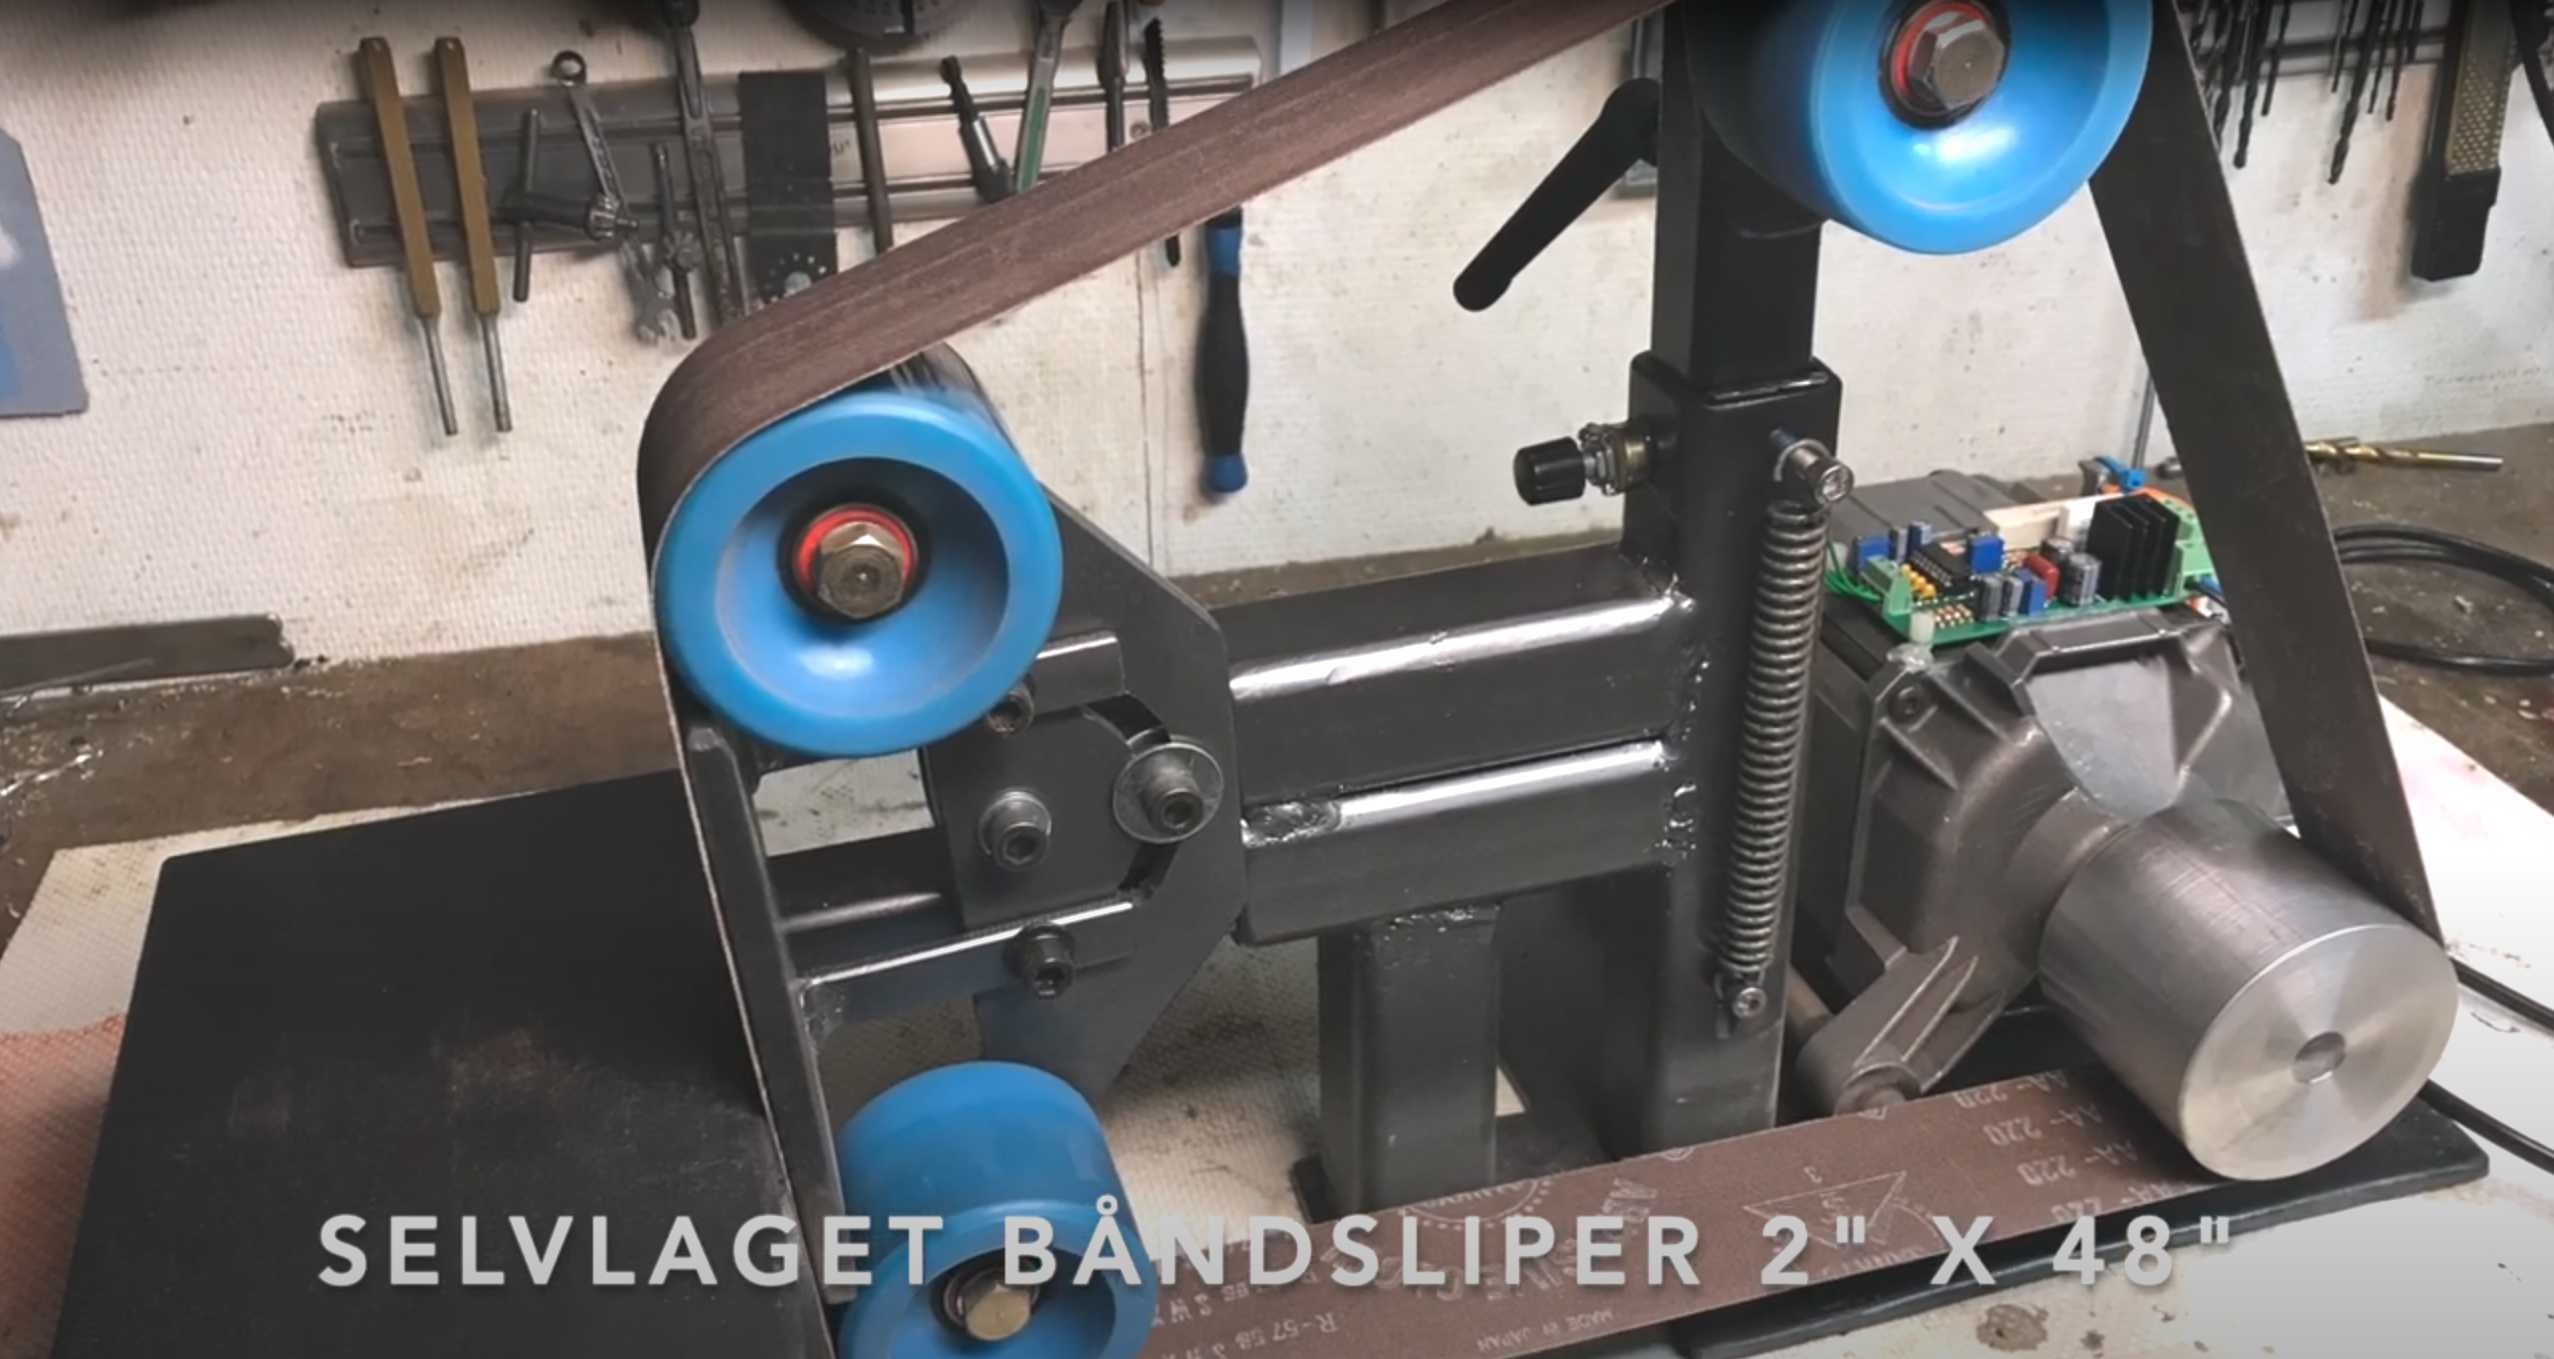
Sand the epoxy to shape it: If you have any spills or uneven surfaces that you want to get rid of, you can sand or scrape them off after curing. Sanding makes the surface of the epoxy matte and/or opaque, but it is necessary to shape the epoxy. The surface can be left matte, or you can make it shiny again!
Polish or recoat? : One of the advantages of epoxy is that after sanding you can pour new epoxy over the matte surface and see all the stripes you have made disappear completely and you get a new nice and glossy surface. If you want it to be 100% flat, gradually finer sanding is the way to go, with gradually finer grit and finally polishing with a polishing compound . Then you can also finish with a fine polishing compound .
Why doesn't epoxy cure?
Insufficient mixing: Some people have experienced in their first projects that the epoxy has not become properly hard after the curing time is complete, or that parts of the surface are sticky. The cause in 98 out of 100 cases is poor mixing.
It is possible that it is due to the wrong mixing ratio if the entire mixture is soft, but otherwise it is most likely that you have not mixed well enough, or scraped out some unmixed resin towards the end. It is essential that all the resin component is mixed with all the hardener component. If this is not done, the resin has no way of hardening. To avoid this, I recommend reading our 6 tips for mixing epoxy .
What else are you wondering about? Do you have questions about epoxy?
Contact us now! We are here to help you, completely free of charge and without obligation, so get in touch today! Send your questions by email or through the chat here at Storbua.no.
2 comments
Martin fra Storbua
Hei Anne! Ja! Det er det. Mange som har gjort det!
Anne Braaten
Er d mulig å innstøpe penge seddel i Epoxy?
Leave a comment
All comments are moderated before being published.
This site is protected by hCaptcha and the hCaptcha Privacy Policy and Terms of Service apply.